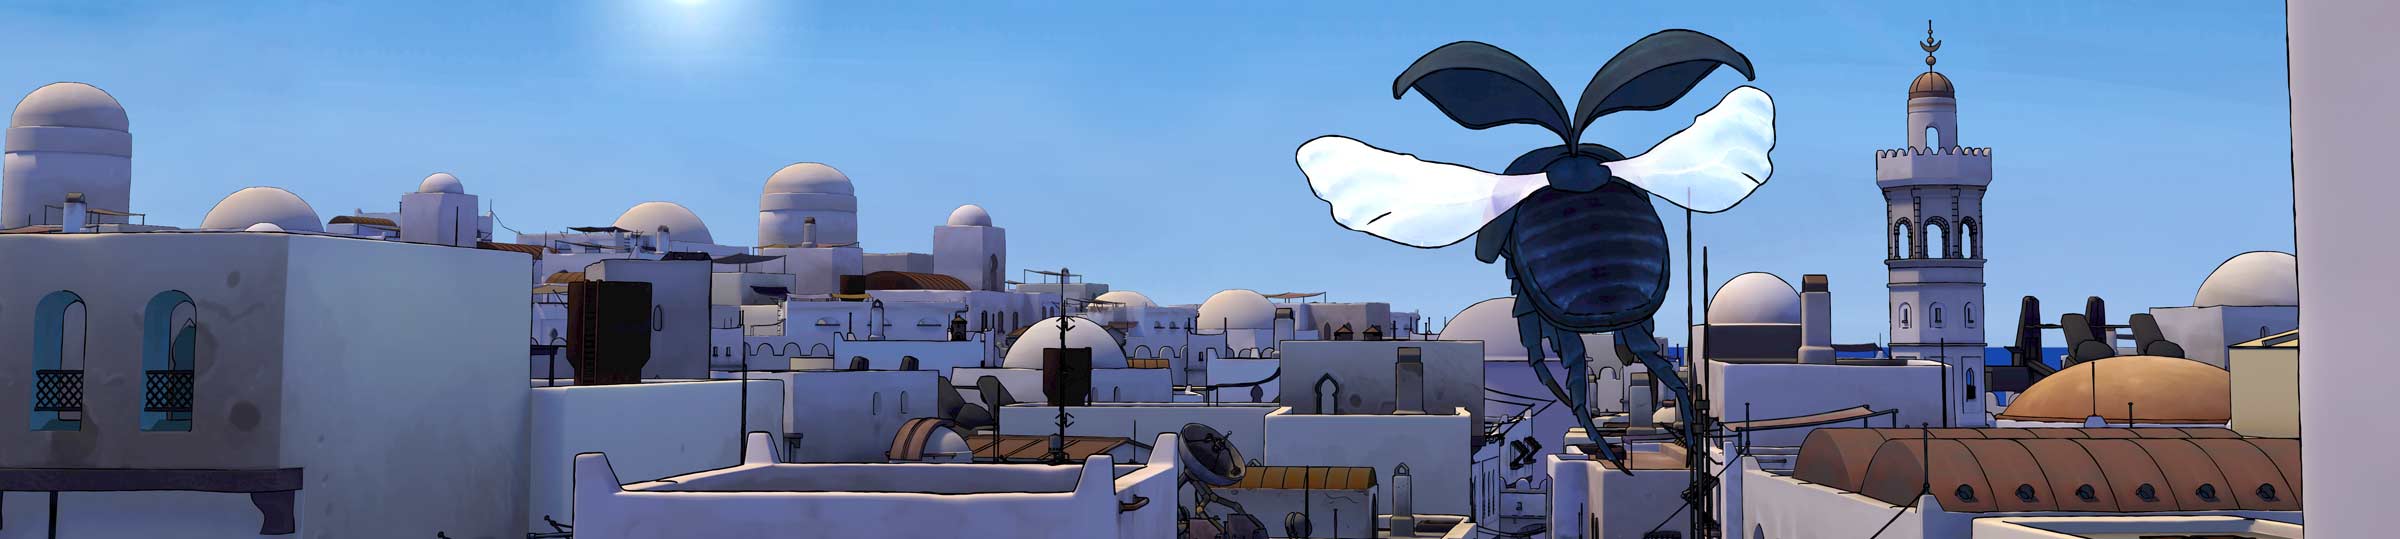
While working on the high-poly medina environment upgrade, modeler David Alvarez has pulled out all the stops with this collection of whimsical machines, doorways, fuel tanks and satellite dishes. Although a number of the models are refinements of existing low-res props and machinery, some of the best are his own creations.
So delightful, we just had to share!
Modeling by David AlvarezModeling by David Alvarez
The medina shops, garages and factories we modeled back in part 2 were finally complete, but we still had a long road ahead of us. Constructing the individual buildings was only the first step. To achieve the full visual aesthetic of the project—inspired by the work of Jean “Moebius” Girard and his contemporaries—we’d need intricate inked detailing and lush, saturated colors.
We had no idea how we were going to achieve this style in 3D. The ligne claire style is defined by hand-drawn lines on paper. It doesn’t lend itself to computer-generated celshading at all. But the team was convinced it could be done.
It wouldn’t be easy. Even just preparing the buildings for texturing would be an ordeal: if we were going to mimic an inked, colored comic-book page, then every last wall, pipe, windowsill and lamp would need to be UV-mapped, tested for distortions and other problems, and repaired. Once texturing was underway, the materials would need multiple layers of hand-painted textures (no procedurals or photos here!). The inks layers would need to be closely vetted against our archive of reference artwork. The color layers would need to cycle through various celshading and lighting tests. Finally yet another layer of hand-painted highlights and shadows would need to be added, to ensure that the textures would integrate seamlessly with the CG lighting. The end result would need to evoke a beautiful hand-drawn graphic novel while simultaneously integrating perfectly into a 3D environment.
No sweat, right?
Click to view the steps of our texturing and lighting process.
After a lot of trial and error, we’ve managed to put together a solid workflow. Our lead texture artist David Ward really stepped up his game, jumping back and forth between 2D and 3D as he built up stacks of inks, colors and shades into a coherent whole. We’ve catalogued our pipeline in the illustration above. So far the results have been very satisfying.